Four Steps For Safely Installing A Mailbox
Have you recently purchased a newly built home? Chances are you’ll be responsible for installing a mailbox on your property. Maybe you’re new to the neighborhood and want to change out your U.S. Post Office mailbox to reflect your style. Or, if you’ve owned your house for many years, you may need to replace a worn post. Your U.S. Post Office mailbox not only endures normal wear and tear from rain, snow, sun exposure, and other natural elements, it’s also susceptible to damage from other sources like being knocked over by a vehicle or bumped into by neighborhood children playing. Whatever the circumstances, a time will come when installing a mailbox is a necessity. Then what do you do? Follow these four steps to ensure your safety when adding or replacing a U.S. Post Office mailbox and post.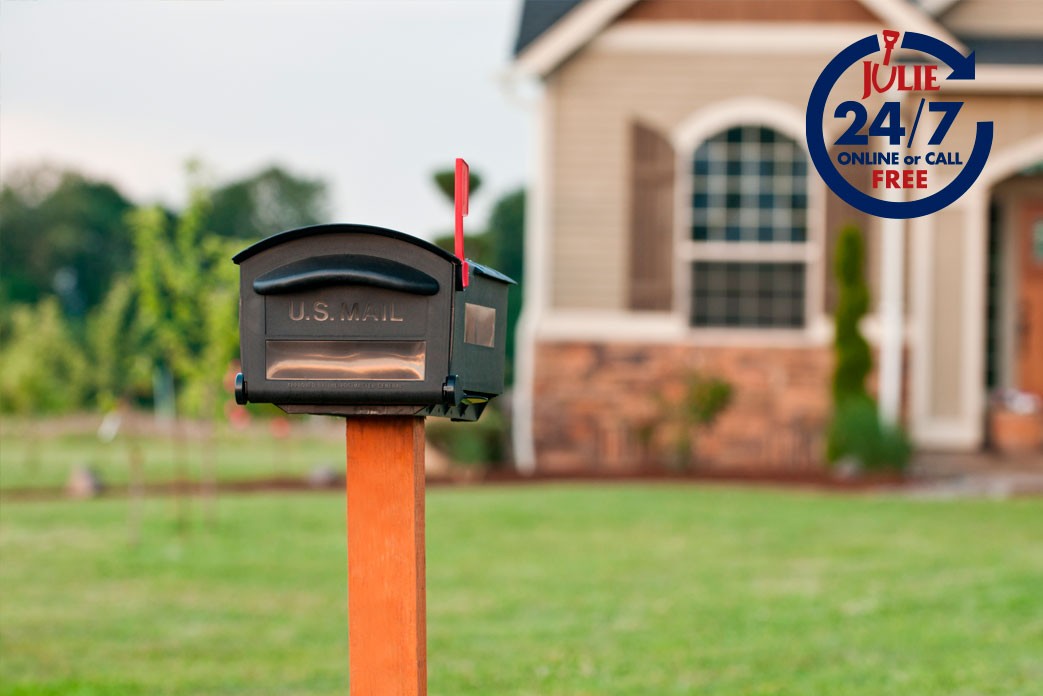
1. Select Your U.S. Post Office Mailbox And Post
Before installing a mailbox, you need to choose the type of mailbox and post. Styles can range from simple to ornate, classic to contemporary. Pick one that complements the exterior of your home. Common materials include molded plastic, aluminum, galvanized steel, and wood—each has its advantages and disadvantages. Wood is the most widely used and a variety of different types are available but treated wood is highly recommended because it helps prevent rot and insect damage. Always check with your local post office to ensure your mailbox and post comply with their requirements. If you live in a neighborhood with a Home Owners’ Association (HOA), read your covenants and restrictions because they may have additional rules or regulations you must follow regarding the type of mailbox that’s allowed. For the post, height, weight and materials all vary based on what’s needed to keep your mailbox standing. Metallic supports include silver, aluminum and nickel while some systems are made to overlay a wood post. When installing a mailbox curbside, the Federal Highway Administration recommends a 4-inch-by-4-inch wooden support or a 2-inch-diameter standard steel or aluminum pipe.
2. Know What’s Below
Now that you’ve decided upon your U.S Post Office mailbox and post, it’s time to get started. First, make sure the location where you’ll be installing the mailbox is safe. Utility lines could be hidden just a few inches below ground and if you strike one, you could cause a disruption to critical service, or cause serious harm to yourself, your family or others in your neighborhood. If you damage a buried utility line, you also could incur costly repair fees and fines. Contact JULIE before you dig, even if you’re replacing a mailbox in the same area. You can request to have utility lines marked by a member company online or via phone. The service is FREE and you can submit a locate request 24 hours a day, 365 days a year. Illinois law states that the person actually digging—you if you’re installing a mailbox yourself, or the excavator if you are hiring a professional or contractor—notify JULIE at least 3 days before you plan to break ground. A representative from each member utility company will mark the location of their facilities with paint or flags or mark an All Clear with a painted OK. To help utility owner locators understand the scope of your project, pre-mark the area where you plan on digging with white paint or flags. After receiving confirmation with a dig number from JULIE, you have 14 days to begin your project.3. Dig Your Hole And Set Your Post
Remember, never start digging until all JULIE member utility companies have marked their underground utility lines or you run the risk of striking a line. To replace an existing mailbox post, first remove the old one. Use a shovel to dig up the ground around the old post and lift it directly up and out of the ground, or form a fulcrum to pry the old mailbox post out. If installing a new mailbox post, make it easier on yourself and use a post-hole digger. You can purchase one or rent one from a local hardware store. Carefully dig approximately 24 inches into the ground but be mindful of USPS regulations. Once the hole is dug, add a few inches of gravel to allow for water drainage. This will help combat rot. Place the post in the hole and use a tape measure to check that it is sitting at the right height above the curb. Add or remove gravel to adjust as necessary.
4. Create A Strong Foundation
Concrete provides a strong and stable foundation for most U.S. Post Office mailboxes. Mix the concrete according to the package directions. As you fill around the post, use a level to ensure the mailbox post remains perfectly straight. Leave about six inches at the top unfilled. Once the concrete has dried, additional dirt can then be distributed on top of the concrete and around the mailbox post and you can landscape around the area as you wish. If you’re installing a mailbox without concrete, use an anchor to support the wooden post. You can screw the anchor into the ground using a crossbar for leverage and then set your wood post on the bracket and attach it using bolts. This method requires you to contact JULIE since you are still disturbing the earth. Installing a mailbox is typically a weekend project. If you want to start on Saturday, make sure you contact JULIE by Wednesday at 4 p.m.—whether you’re doing it yourself or hiring a professional.
Safe Digging Tip: Always contact JULIE before you dig to have utility lines on your property located for free by our members. Valuable utility lines may be buried just beneath the surface and hitting one could disrupt critical services, cause serious harm to you or your family, or even result in costly repairs and fines.